Arduino IDE setup
Arduino IDE stands out with its simple design, allowing to write a code, compile a project and upload it to the TotemDuino. This is one of the reasons why it's so popular among beginners. Aside from basic functionality, it has thousands of third-party libraries and code examples to create a project even faster.
Windows 11 driver
TotemDuino were manufactured with PL2303TA chip that is no more supported in Windows 11 OS.
Follow Driver install tutorial to solve this issue.
Step 1. Download Arduino IDE
Go to Arduino website to download application for your operating system.
Install guide (1.8): Windows | macOS | Linux
Install guide (2.2): Windows / MacOS / Linux
Step 2. Select Board
TotemDuino is represented as "Arduino UNO".
- Select
Tools→Board→Arduino AVR Boards→Arduino UNO.
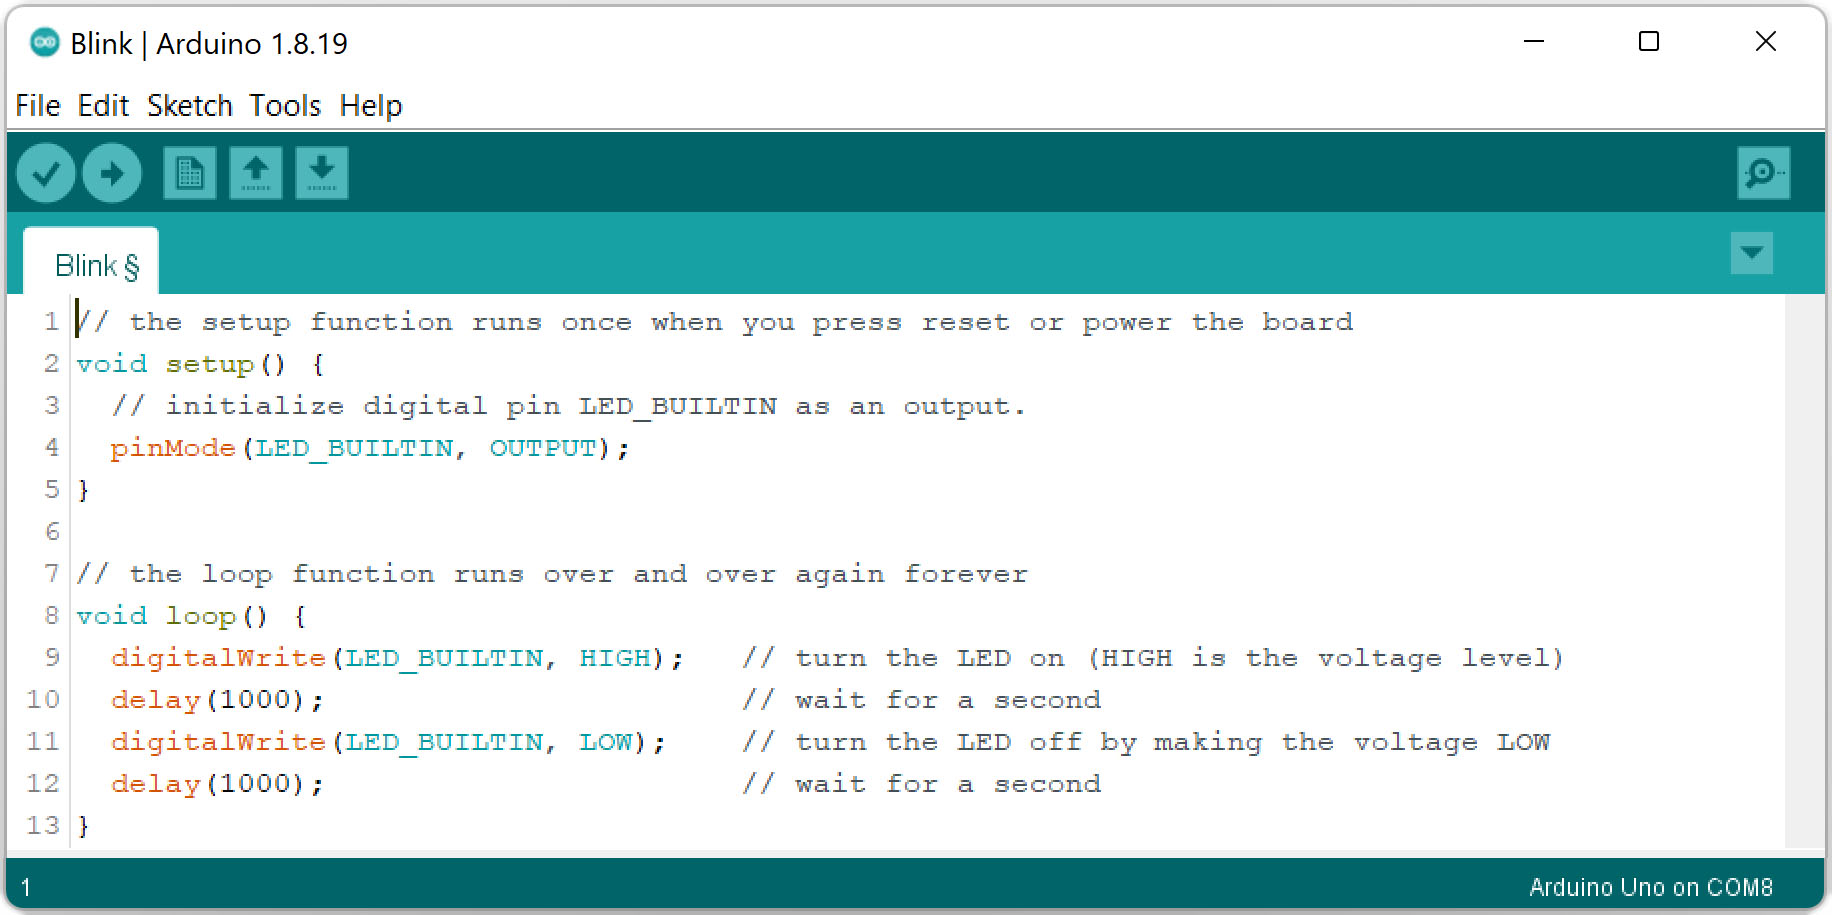
Step 3. Compile and upload code

Load example code and upload it to TotemDuino.
- Select
File→Examples→01.Basics→Blink. - Connect TotemDuino to PC over USB cable.
- Select
Tools→Portand click on the port displayed there.
If there are multiple ports, disconnect USB cable and check which one is gone. Reconnect and select it. - Select
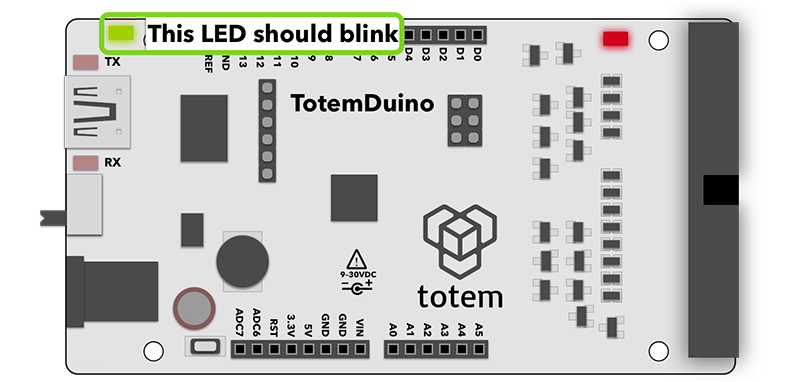
Sketch→Uploadand wait till it completes. - LED will start to blink in 1 second interval.
Step 4. Using Arduino IDE
For more information about getting started with Arduino, read following topics:
User interface:
- Arduino IDE 2.3 | Arduino IDE 1.8 - walk around Arduino IDE UI
- Install libraries IDE 2.2 | Install libraries IDE 1.8 - install third-party libraries
- Upload sketch IDE 2.2 - upload compiled code to TotemDuino
- Autocomplete feature IDE 2.2 - displays code suggestions while typing
Monitor:
- Serial Monitor IDE 2.2 - view
Serial.print()output - Serial Plotter IDE 2.2 - view plotted graphs
Code documentation:
- Arduino code documentation - Arduino functions documentation
Code examples:
- Arduino examples / projects - general Arduino example projects
- Mini Lab projects - Mini Lab specific example projects
Question
Visit  Support page to find more information or help from our community.